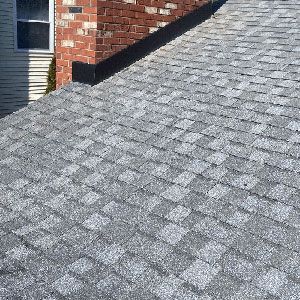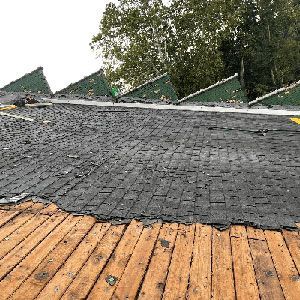

In recent years, homeowners have been experiencing more and more storm and hail damage. Being able to identify what hail damage looks like is a good way to help a homeowner decide if they need to file a claim with their insurance carrier. Depending on the type of home and roof you have, it may […]
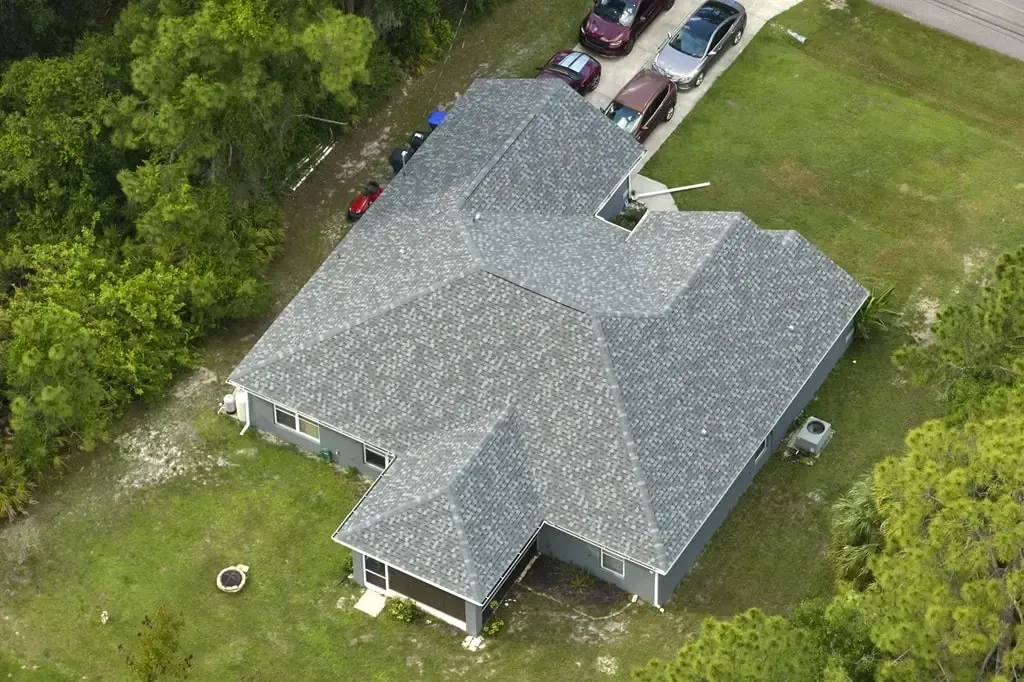
Thompson Home Improvement has clients call us to schedule roof estimates all the time; where the client is completely certain the roof even needs to be replaced. As with many roofing related questions, there can be many answers to the question: “How often should my roof be replaced?” The first thing to consider is: what […]
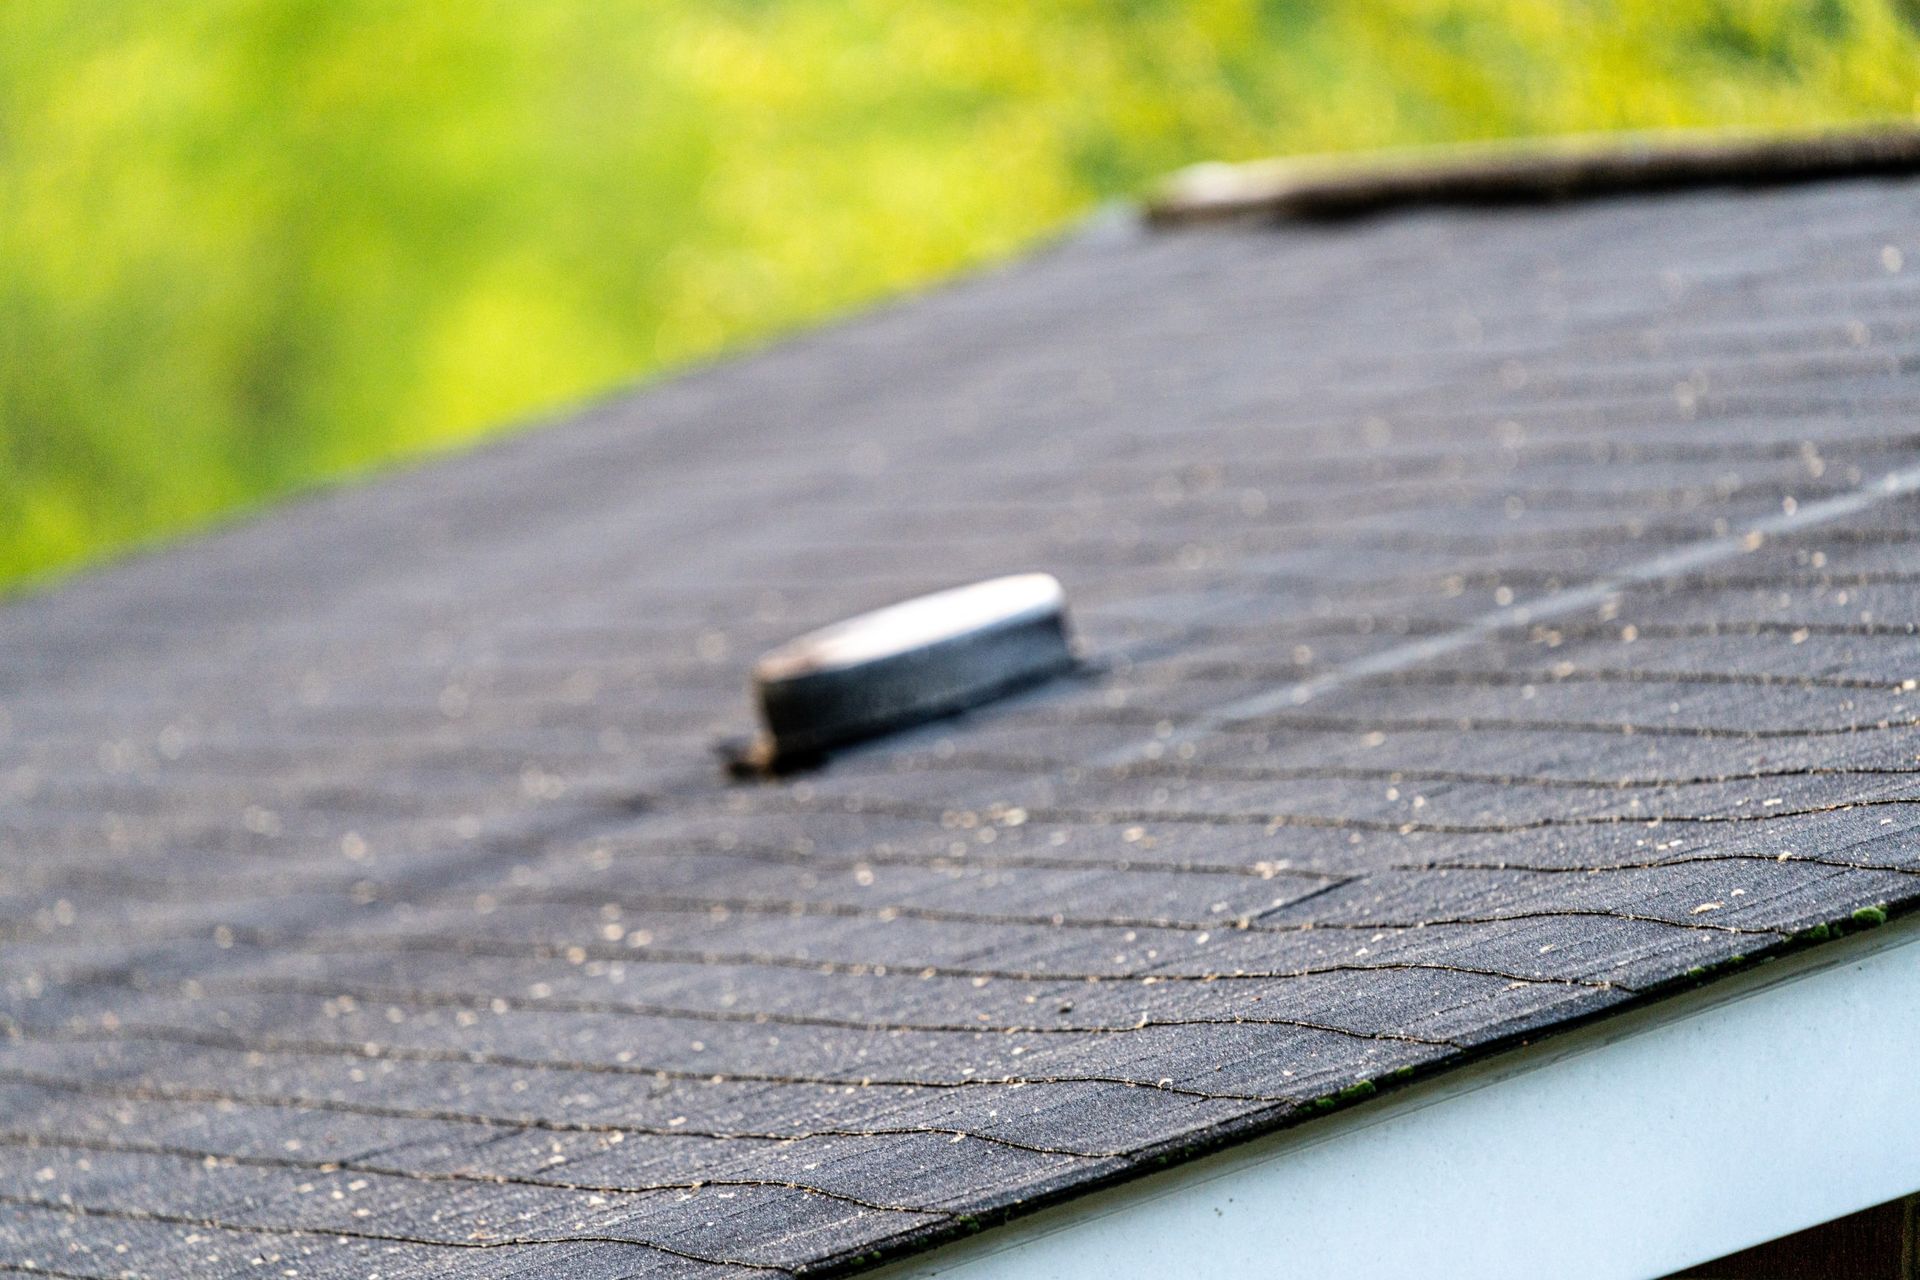
Have you noticed your roof leaking intermittently? One day it’s dry and the next, there’s water inside. At Thompson Home Improvement, we frequently hear from homeowners who experience leaks that only appear under specific conditions, such as after a storm or during high winds. It’s a common issue. One that can be hard to pinpoint […]
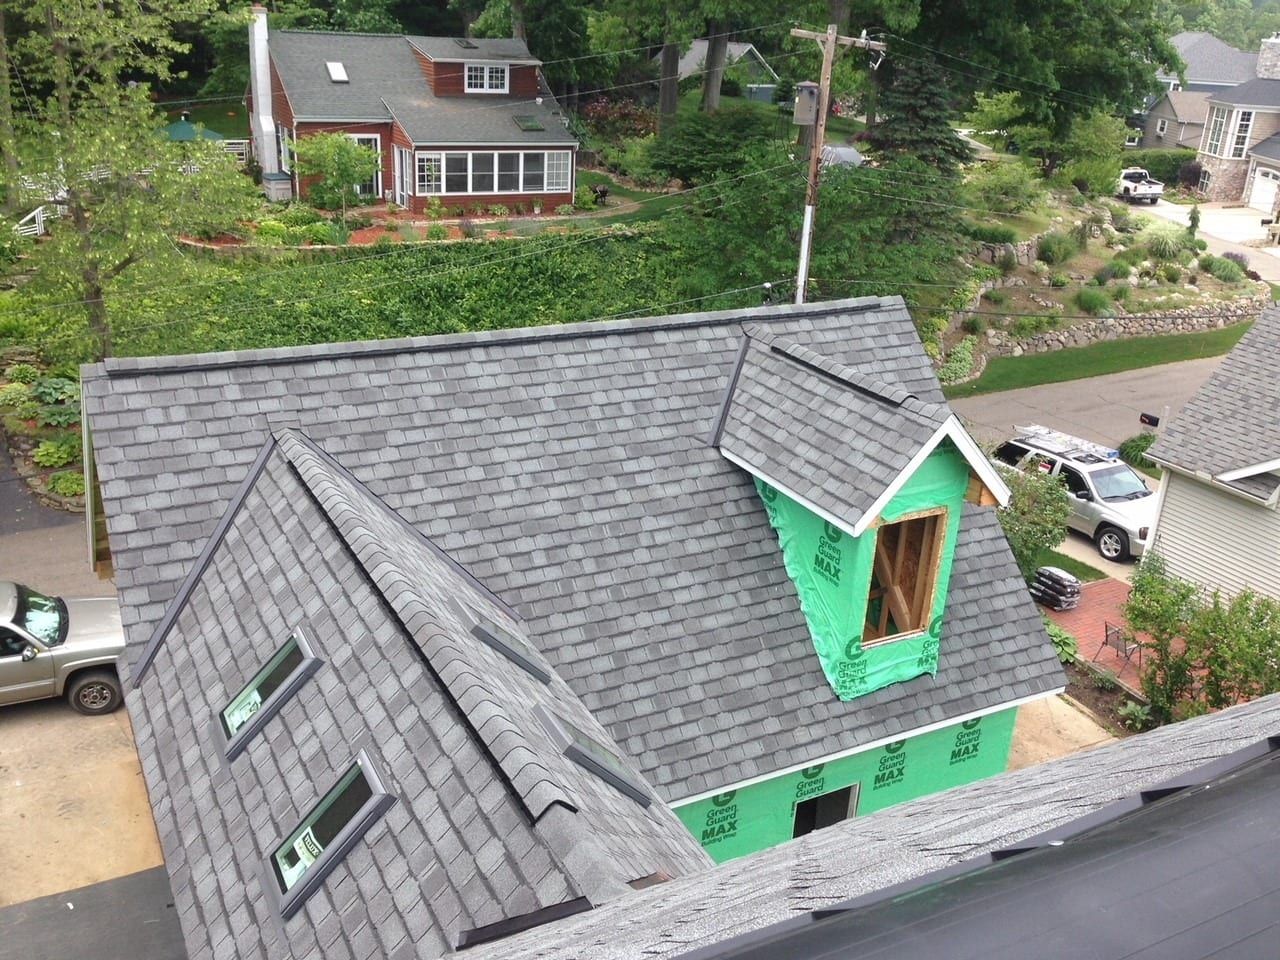
Are you in the market for a new roof? If you are, one of your questions might be: how long does a shingle roof last? Here at Thomson Home Improvement, we frequently answer this question. It’s a good question, and something every homeowner should know when preparing for a roofing project. Like most home exterior […]
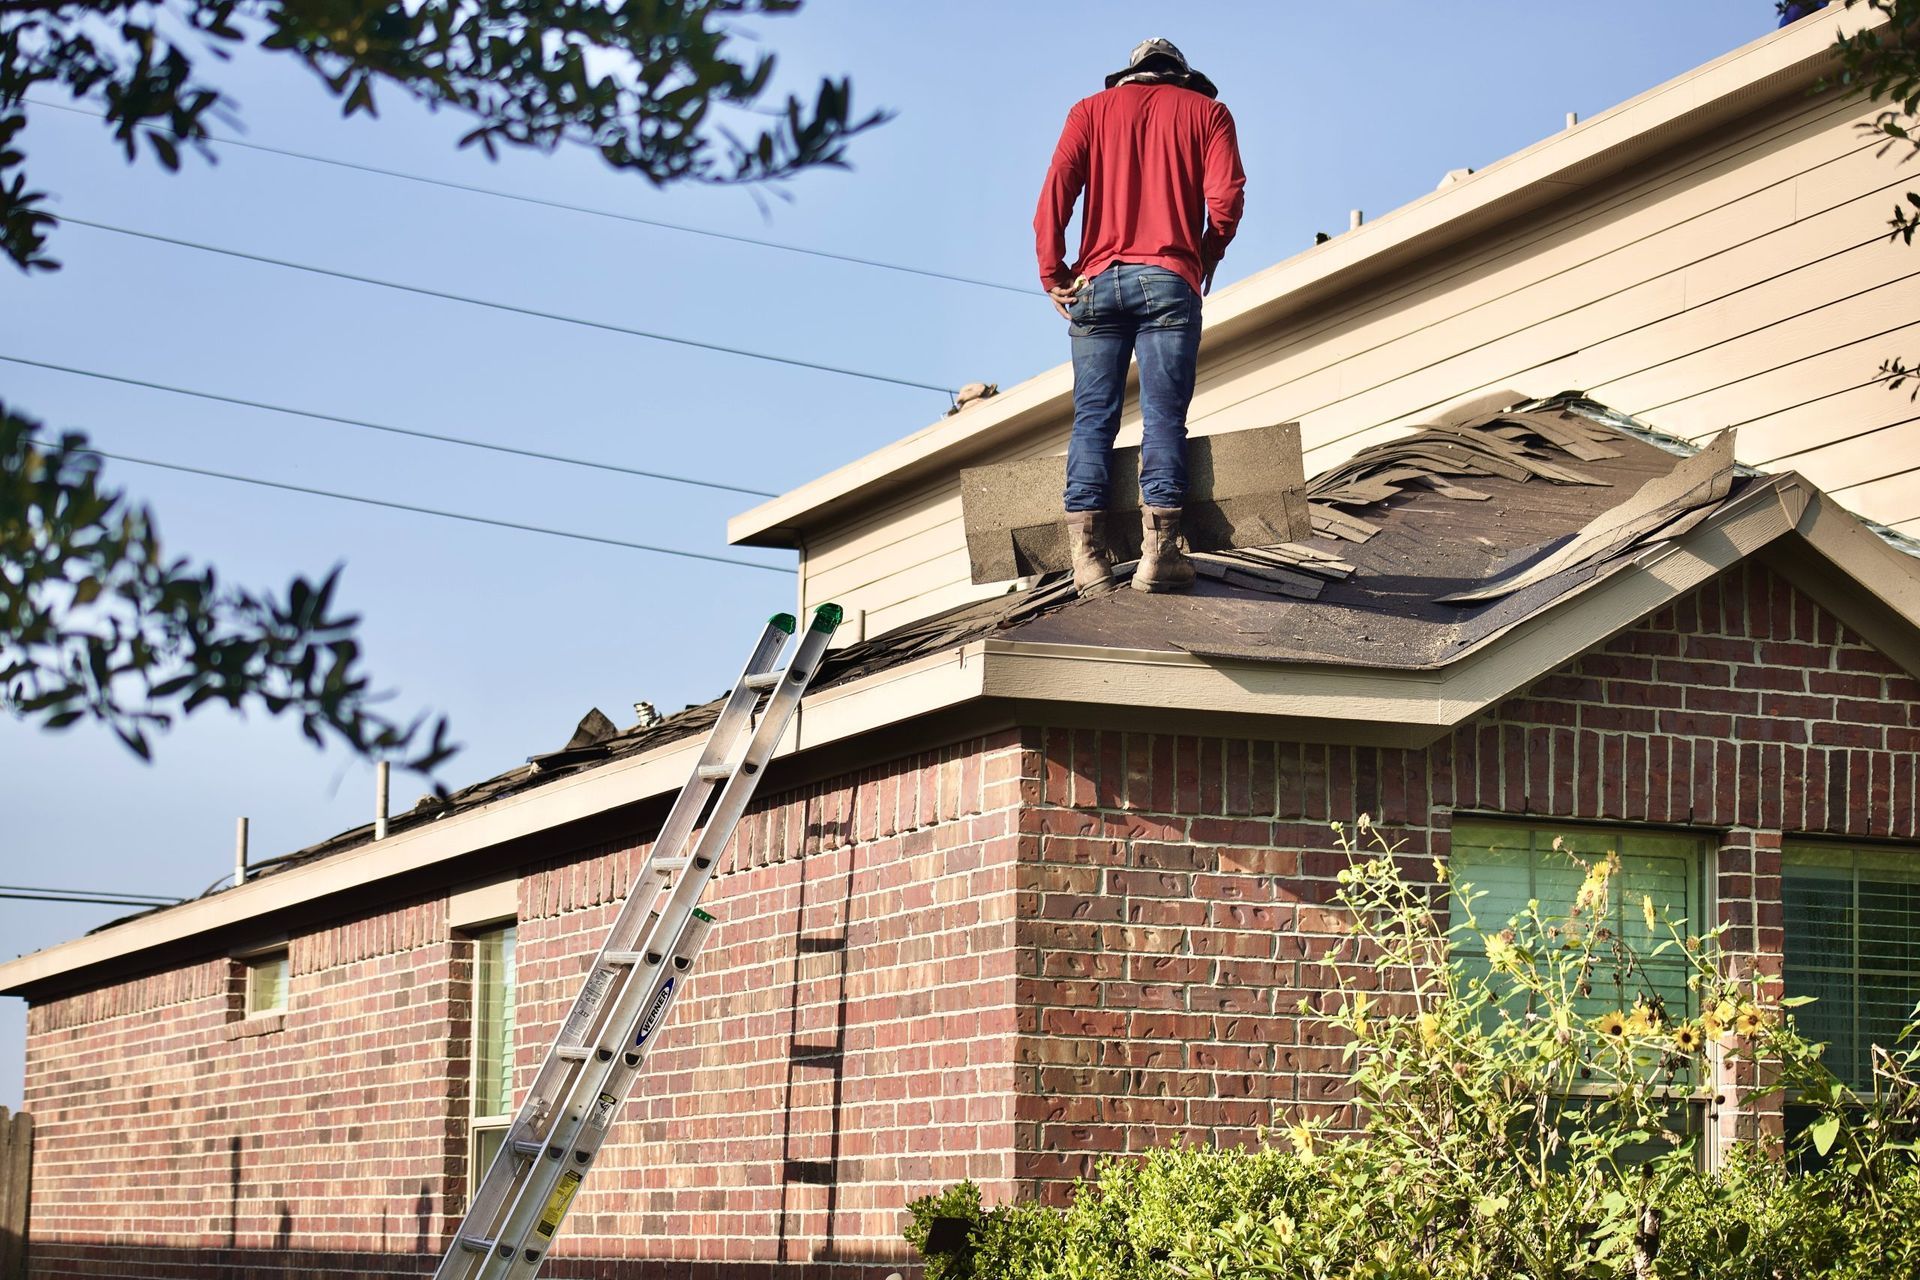
Keeping your gutters clean is essential to protecting your roof, foundation, and overall home. Gutters are designed to direct water away from your house, but when clogged, they can lead to serious problems like roof leaks, basement flooding, and costly water damage. A clean gutter system keeps everything flowing smoothly and prevents drainage issues. But […]

Storm Season is upon us! As we roll into April with our first major wind and rain storm, we are thankful there was no serious damage or injuries in the Kalamazoo area. But, this event was likely the first of several, if not many for the 2025 season. Thompson Home Improvement took many calls on […]
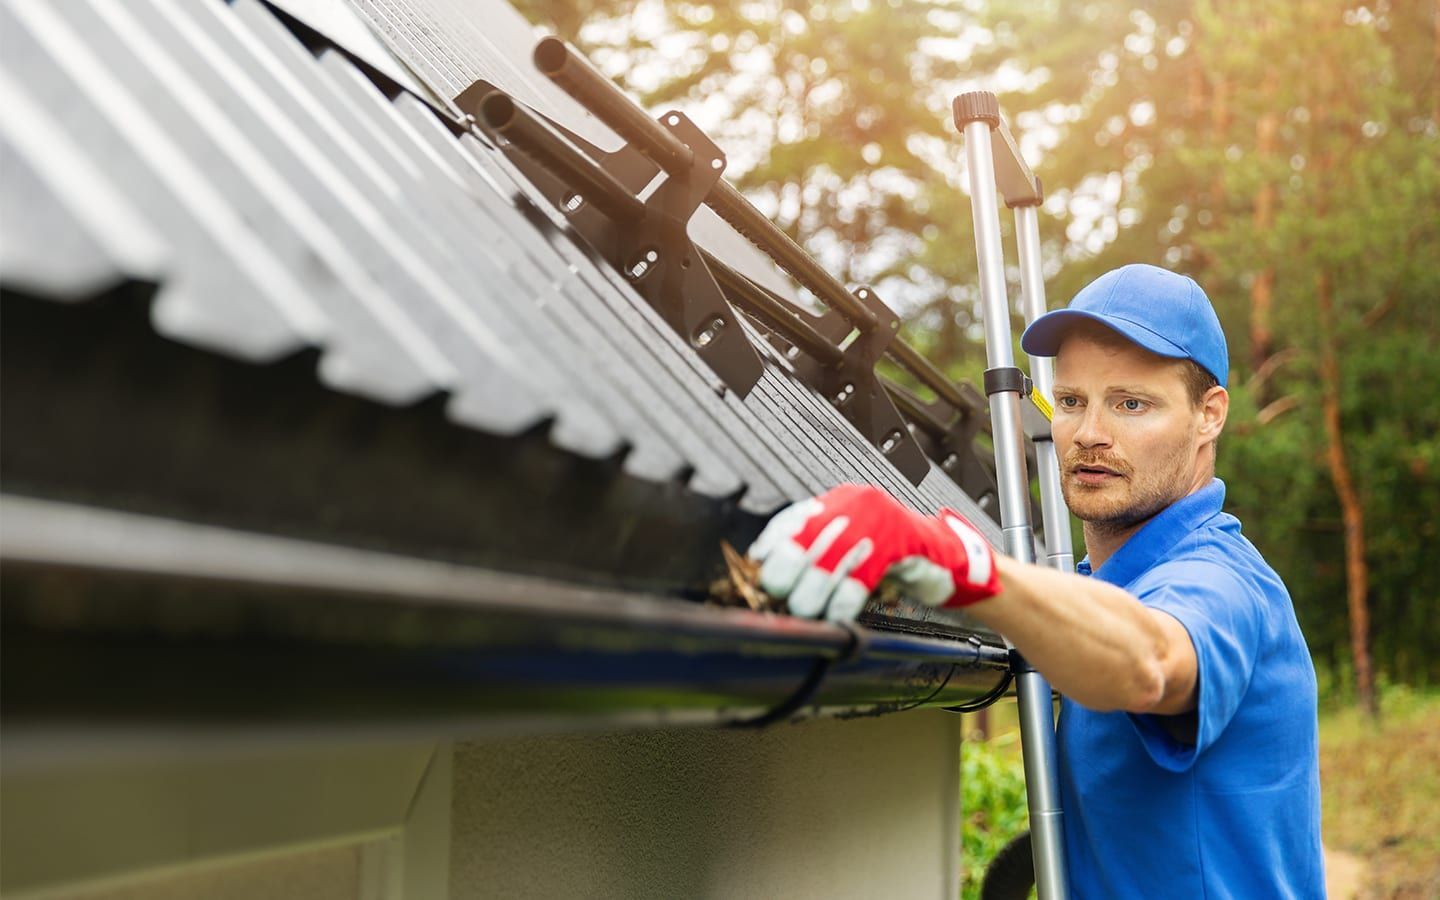
Since roofing and gutters often go hand in hand, we’re frequently asked to replace gutters when we replace a roof. However, we’re also frequently called just for gutter repairs. Gutters play a large role in your roof’s health and in your home’s foundational function. Water can penetrate almost anywhere if it’s not mitigated appropriately, and […]
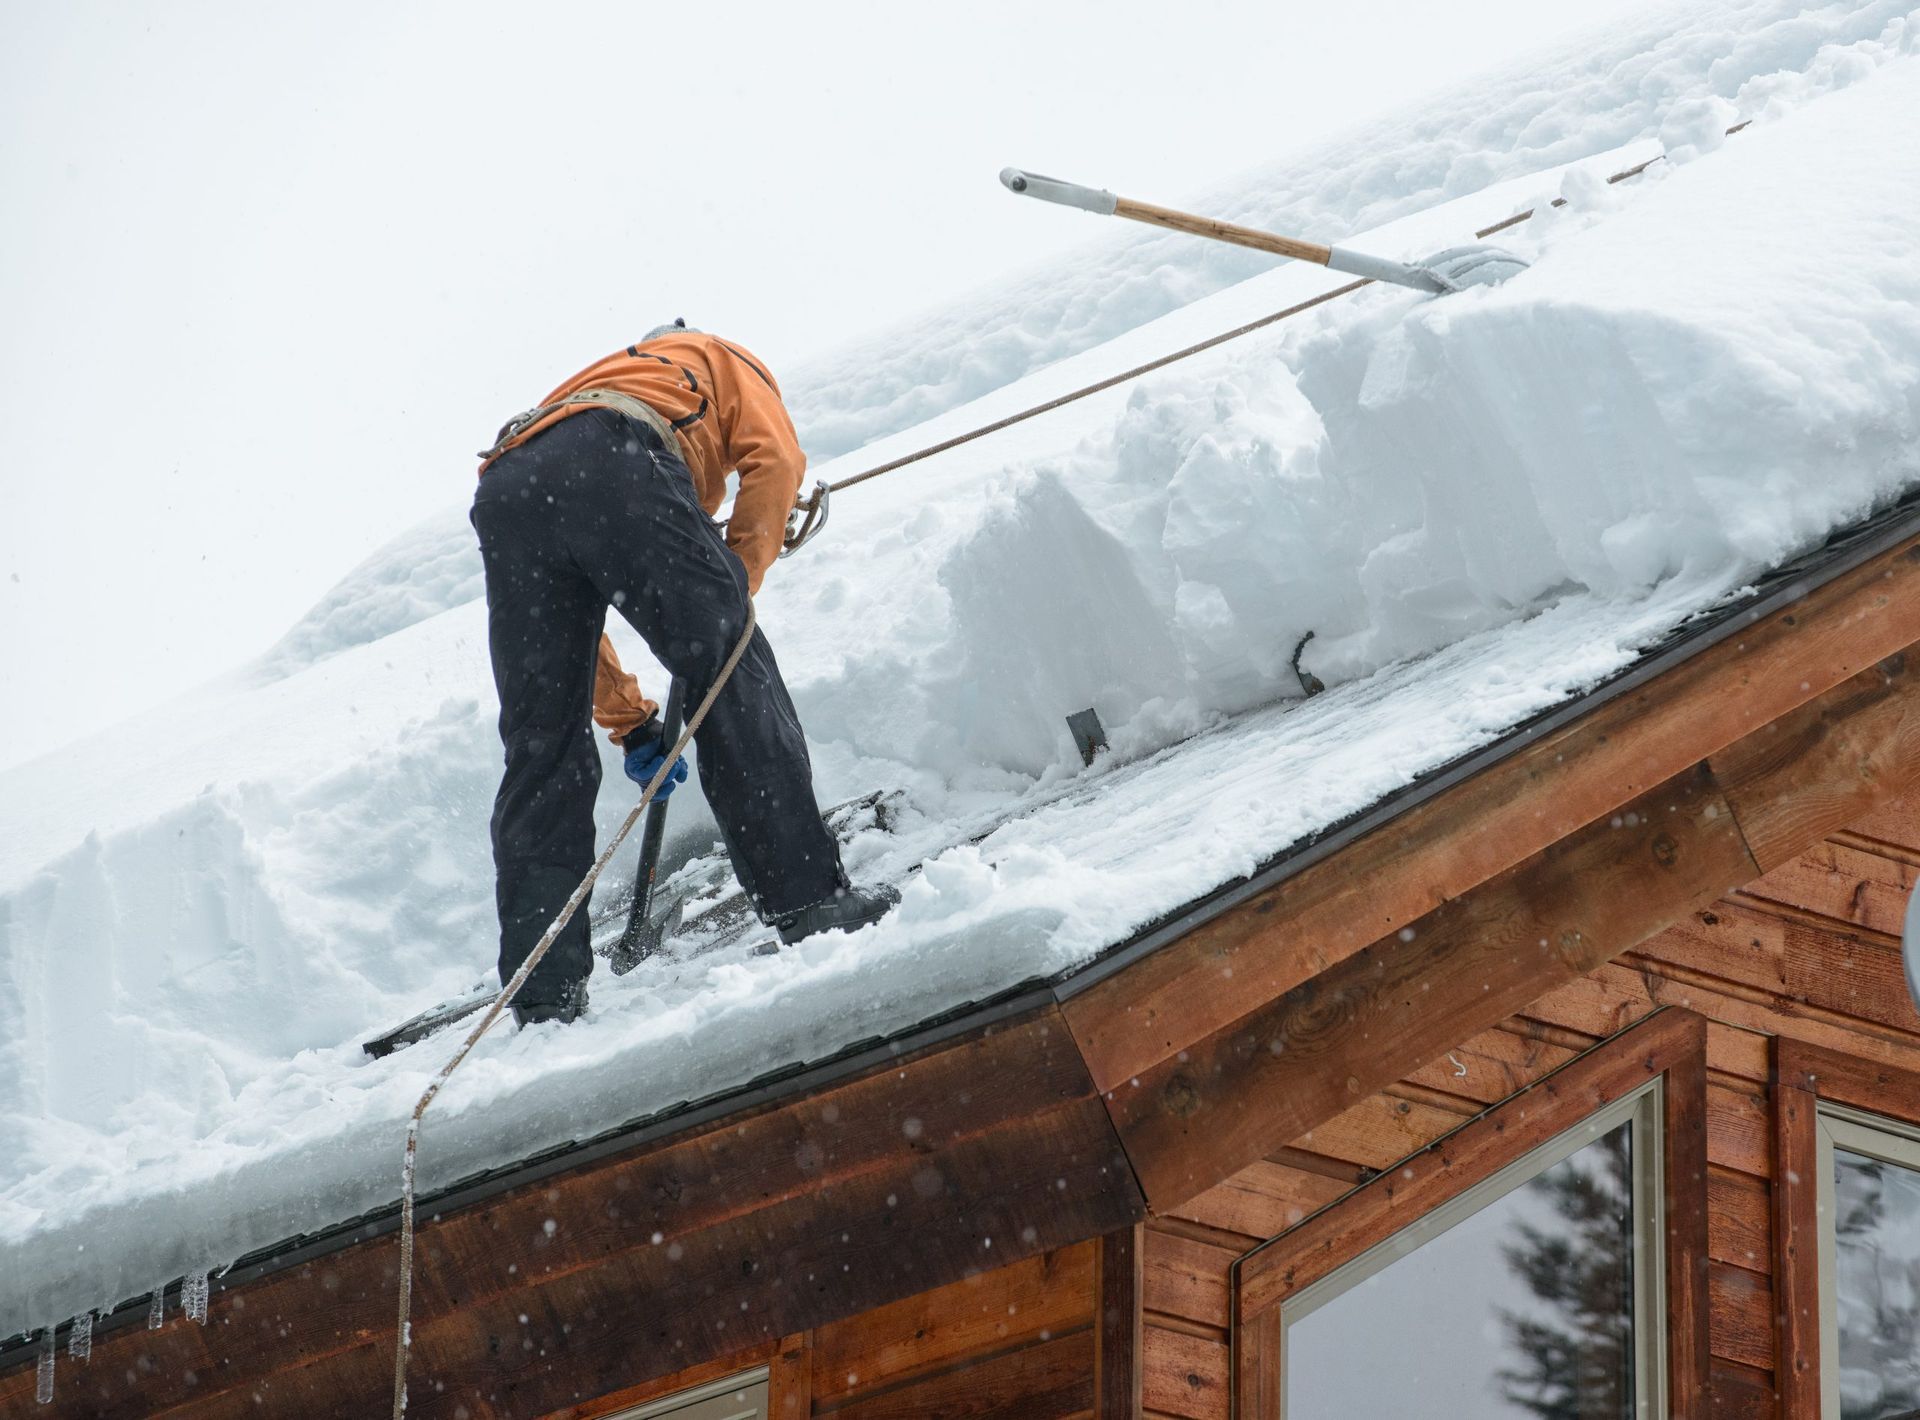
Is your roof aging but not quite ready to be replaced? Or are you trying to make it through one more season before you replace it? Budgeting for a new roof can take some planning and time, and getting ready before winter can help you to avoid issues once winter arrives. No one wants to […]
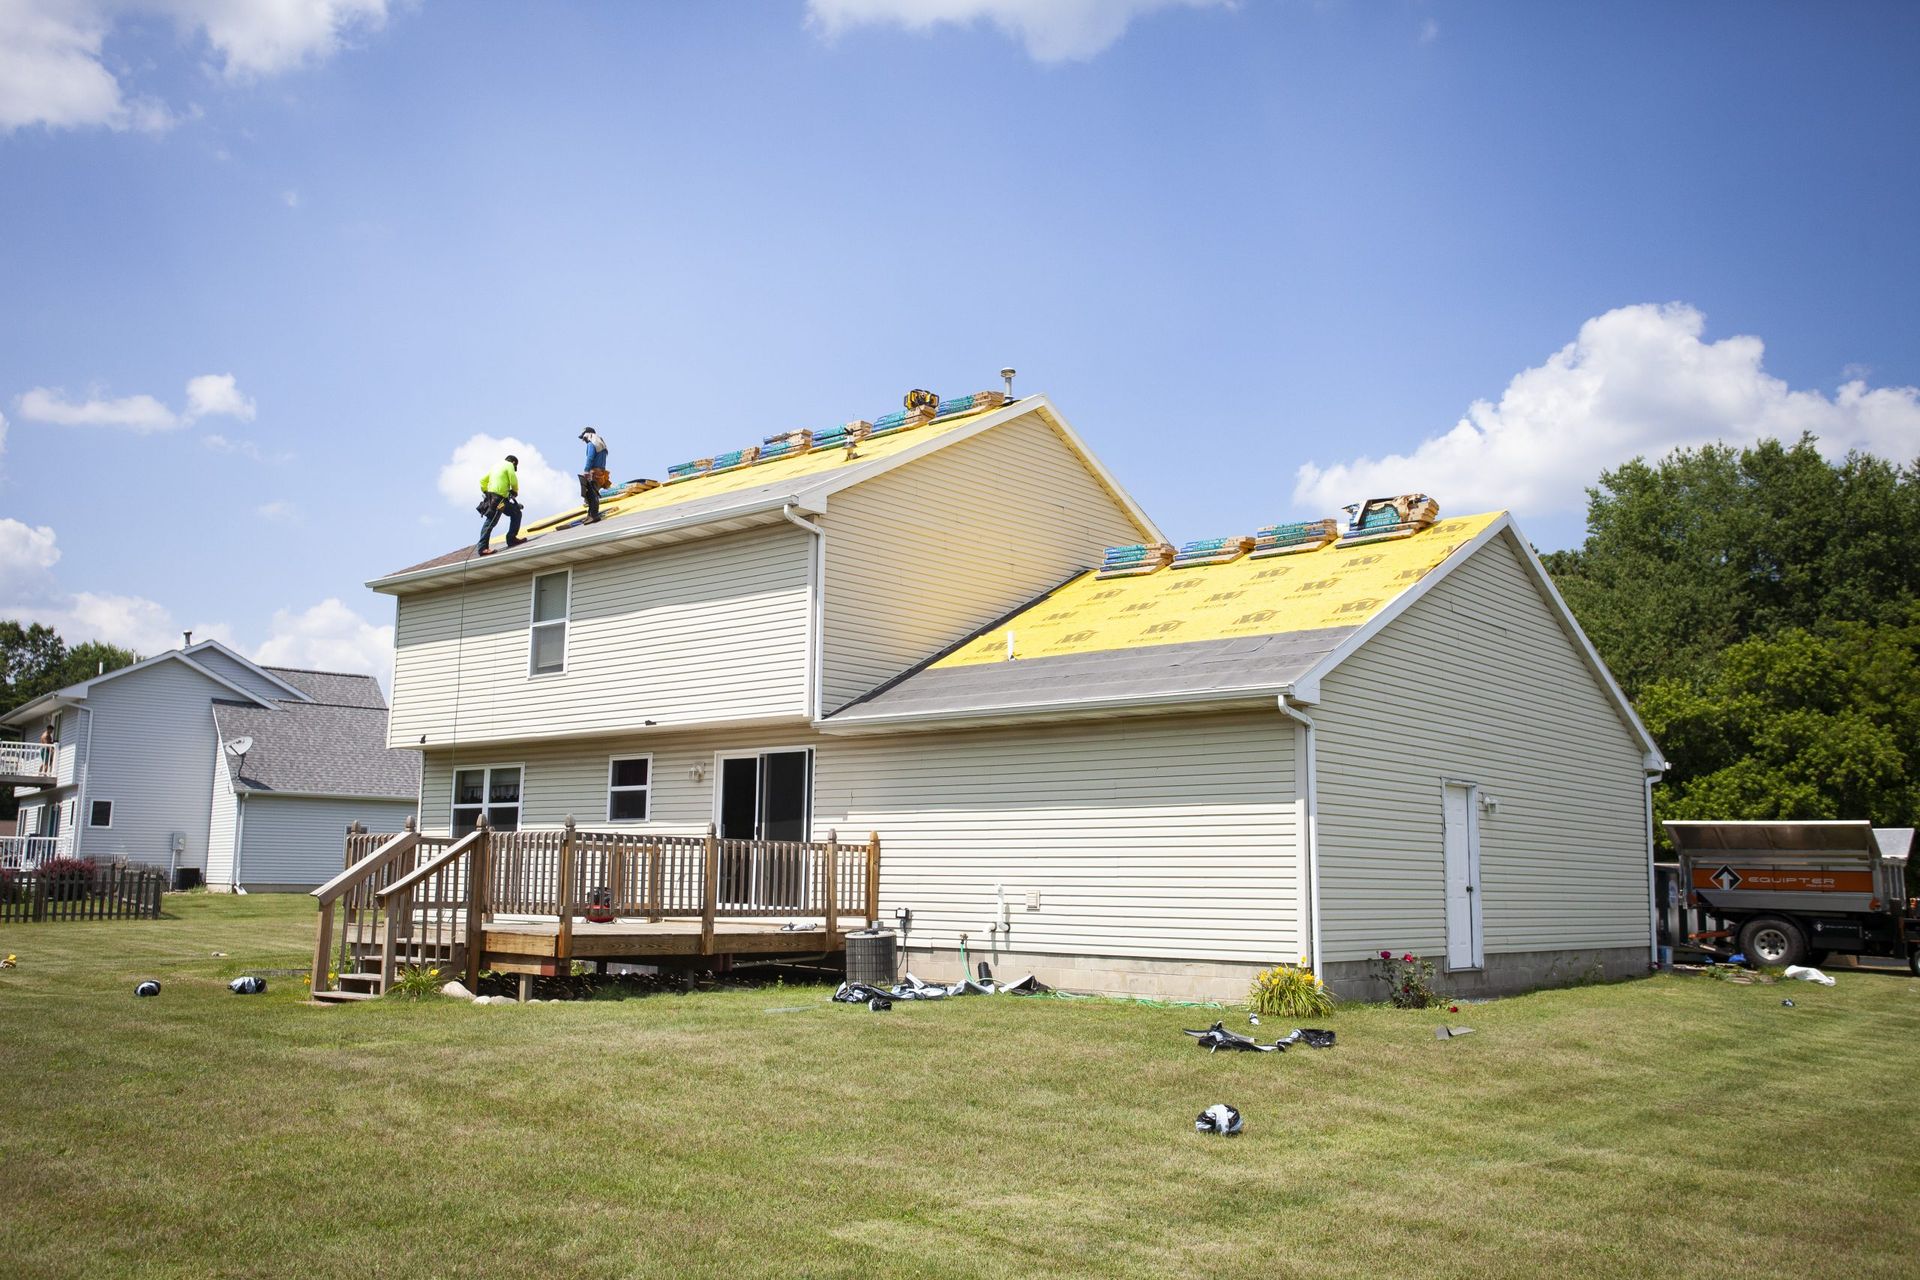
Storm damage to your home can be catastrophic depending on the level of damage sustained. With growing frequency, severe weather patterns have struck Southwest Michigan over the last few years. We’re finding that more and more communities are experiencing some level of roof storm damage to their home exterior. Roofing and siding tend to expose […]
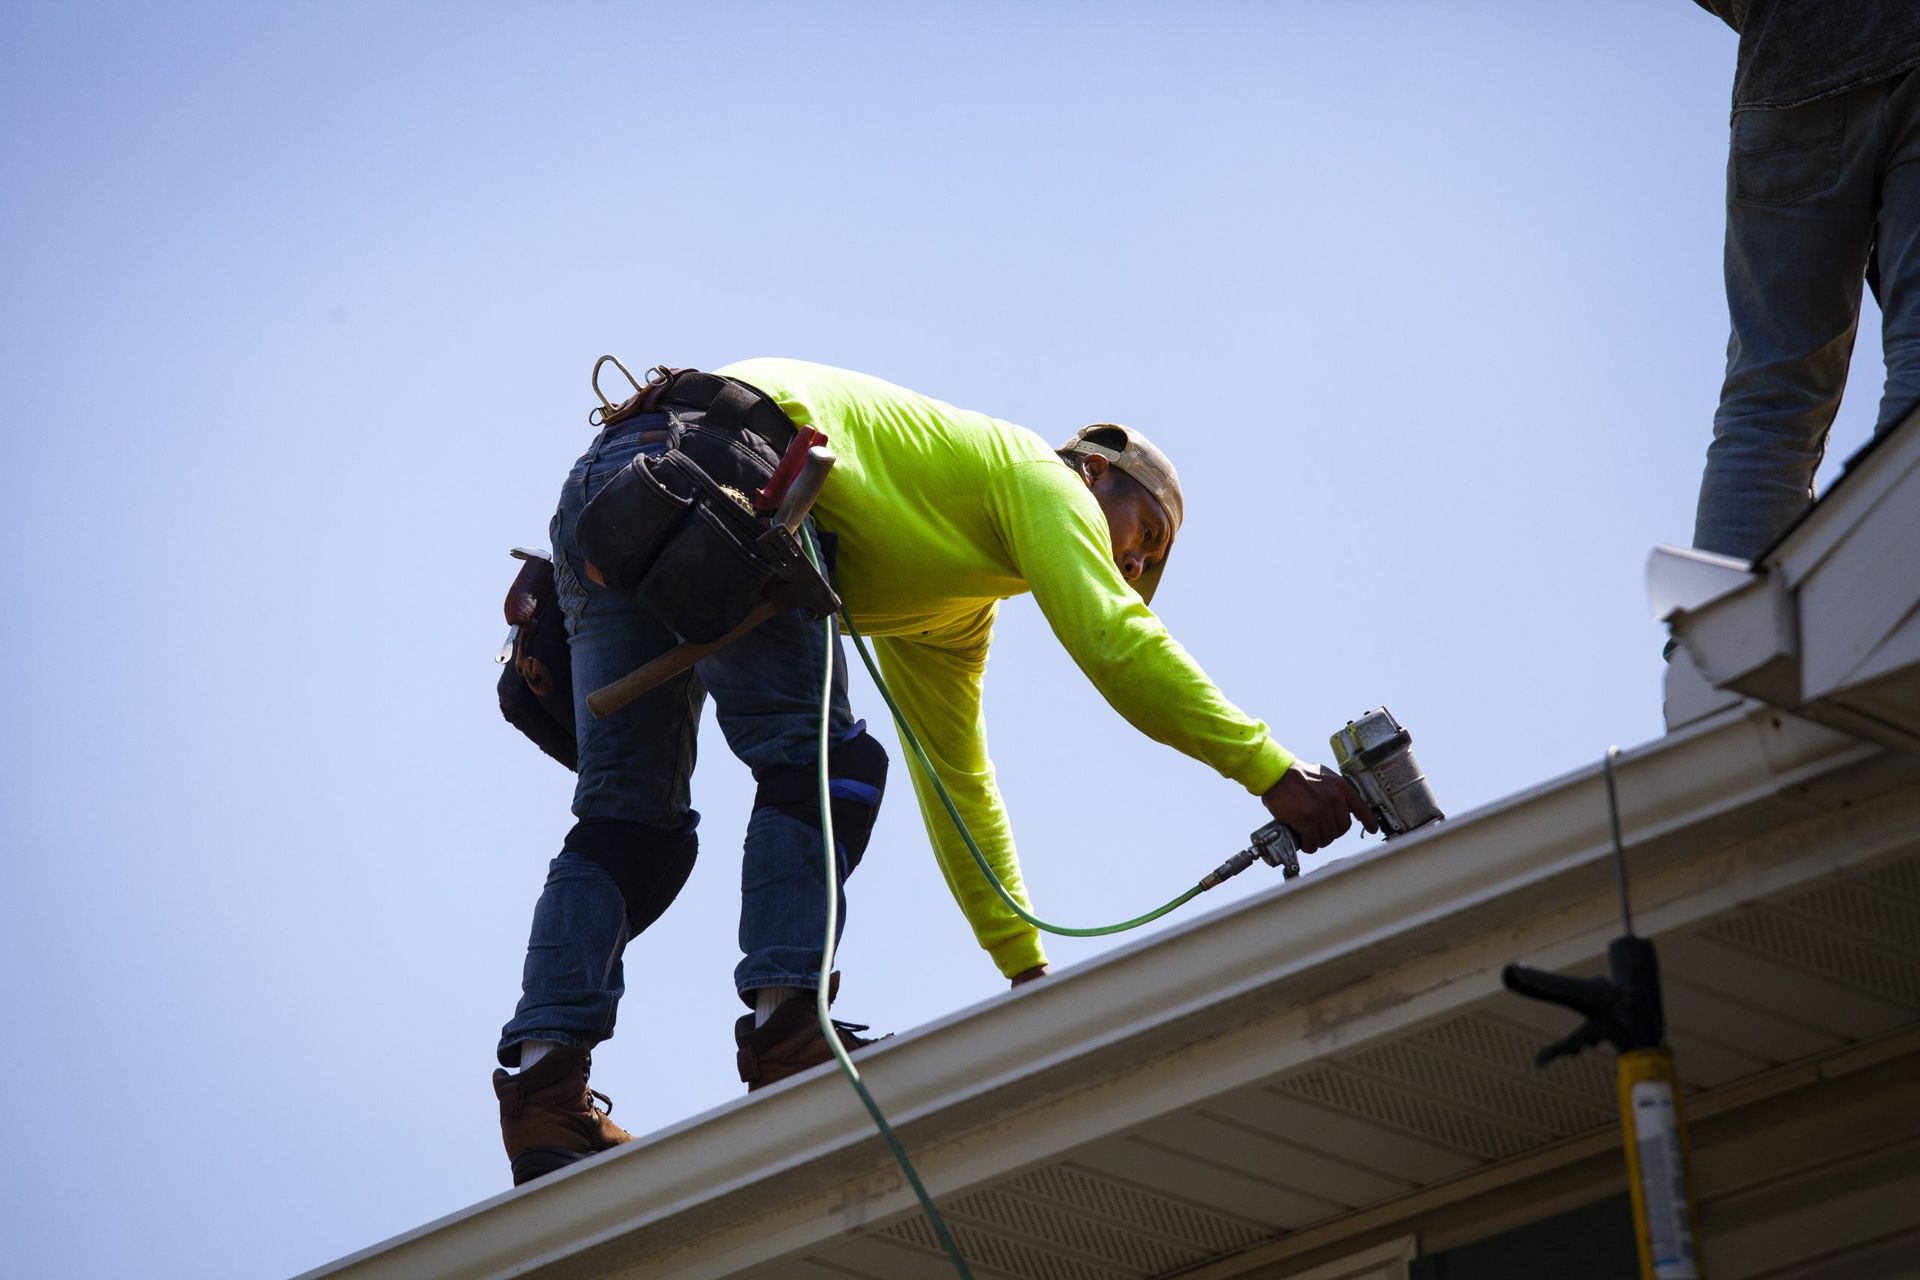
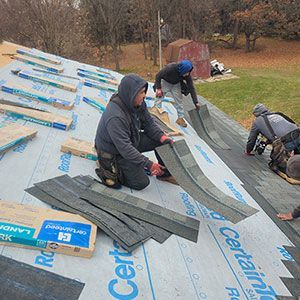
Roof installation may mystify or feel complicated to the majority of consumers. However, understanding the roof installation process is crucial to a successful project. For the most part, roofing installation is pretty straightforward. Today, there are many informative documents, presentations, and videos available online, through supply chains, and from manufacturers that explain and give presentations […]
In recent years, homeowners have been experiencing more and more storm and hail damage. Being able to identify what hail damage looks like is a good way to help a homeowner decide if they need to file a claim with their insurance carrier. Depending on the type of home and roof you have, it may […]
Thompson Home Improvement has clients call us to schedule roof estimates all the time; where the client is completely certain the roof even needs to be replaced. As with many roofing related questions, there can be many answers to the question: “How often should my roof be replaced?” The first thing to consider is: what […]
Have you noticed your roof leaking intermittently? One day it’s dry and the next, there’s water inside. At Thompson Home Improvement, we frequently hear from homeowners who experience leaks that only appear under specific conditions, such as after a storm or during high winds. It’s a common issue. One that can be hard to pinpoint […]
Are you in the market for a new roof? If you are, one of your questions might be: how long does a shingle roof last? Here at Thomson Home Improvement, we frequently answer this question. It’s a good question, and something every homeowner should know when preparing for a roofing project. Like most home exterior […]
Keeping your gutters clean is essential to protecting your roof, foundation, and overall home. Gutters are designed to direct water away from your house, but when clogged, they can lead to serious problems like roof leaks, basement flooding, and costly water damage. A clean gutter system keeps everything flowing smoothly and prevents drainage issues. But […]
Storm Season is upon us! As we roll into April with our first major wind and rain storm, we are thankful there was no serious damage or injuries in the Kalamazoo area. But, this event was likely the first of several, if not many for the 2025 season. Thompson Home Improvement took many calls on […]
Since roofing and gutters often go hand in hand, we’re frequently asked to replace gutters when we replace a roof. However, we’re also frequently called just for gutter repairs. Gutters play a large role in your roof’s health and in your home’s foundational function. Water can penetrate almost anywhere if it’s not mitigated appropriately, and […]
Is your roof aging but not quite ready to be replaced? Or are you trying to make it through one more season before you replace it? Budgeting for a new roof can take some planning and time, and getting ready before winter can help you to avoid issues once winter arrives. No one wants to […]
Storm damage to your home can be catastrophic depending on the level of damage sustained. With growing frequency, severe weather patterns have struck Southwest Michigan over the last few years. We’re finding that more and more communities are experiencing some level of roof storm damage to their home exterior. Roofing and siding tend to expose […]
Roof installation may mystify or feel complicated to the majority of consumers. However, understanding the roof installation process is crucial to a successful project. For the most part, roofing installation is pretty straightforward. Today, there are many informative documents, presentations, and videos available online, through supply chains, and from manufacturers that explain and give presentations […]